How to Create a Halftone Effect Online
Halftone turns any photo into a grid of dots — the same technique used in comic books, newspapers, and screen printing for over a century. Here's how to do it in seconds using Ditther, entirely in your browser.
What is a halftone effect?
Before digital printing, images were reproduced by breaking them into a grid of tiny dots. Larger dots in darker areas, smaller dots in lighter areas — the eye blends them into a continuous tone. This is halftone. The technique gave rise to the visual language of pop art, punk zines, and editorial design.
Today halftone is a deliberate aesthetic choice. It adds texture, nostalgia, and graphic punch to any image. And unlike the original printing process, you can apply it in real time with no software to install.
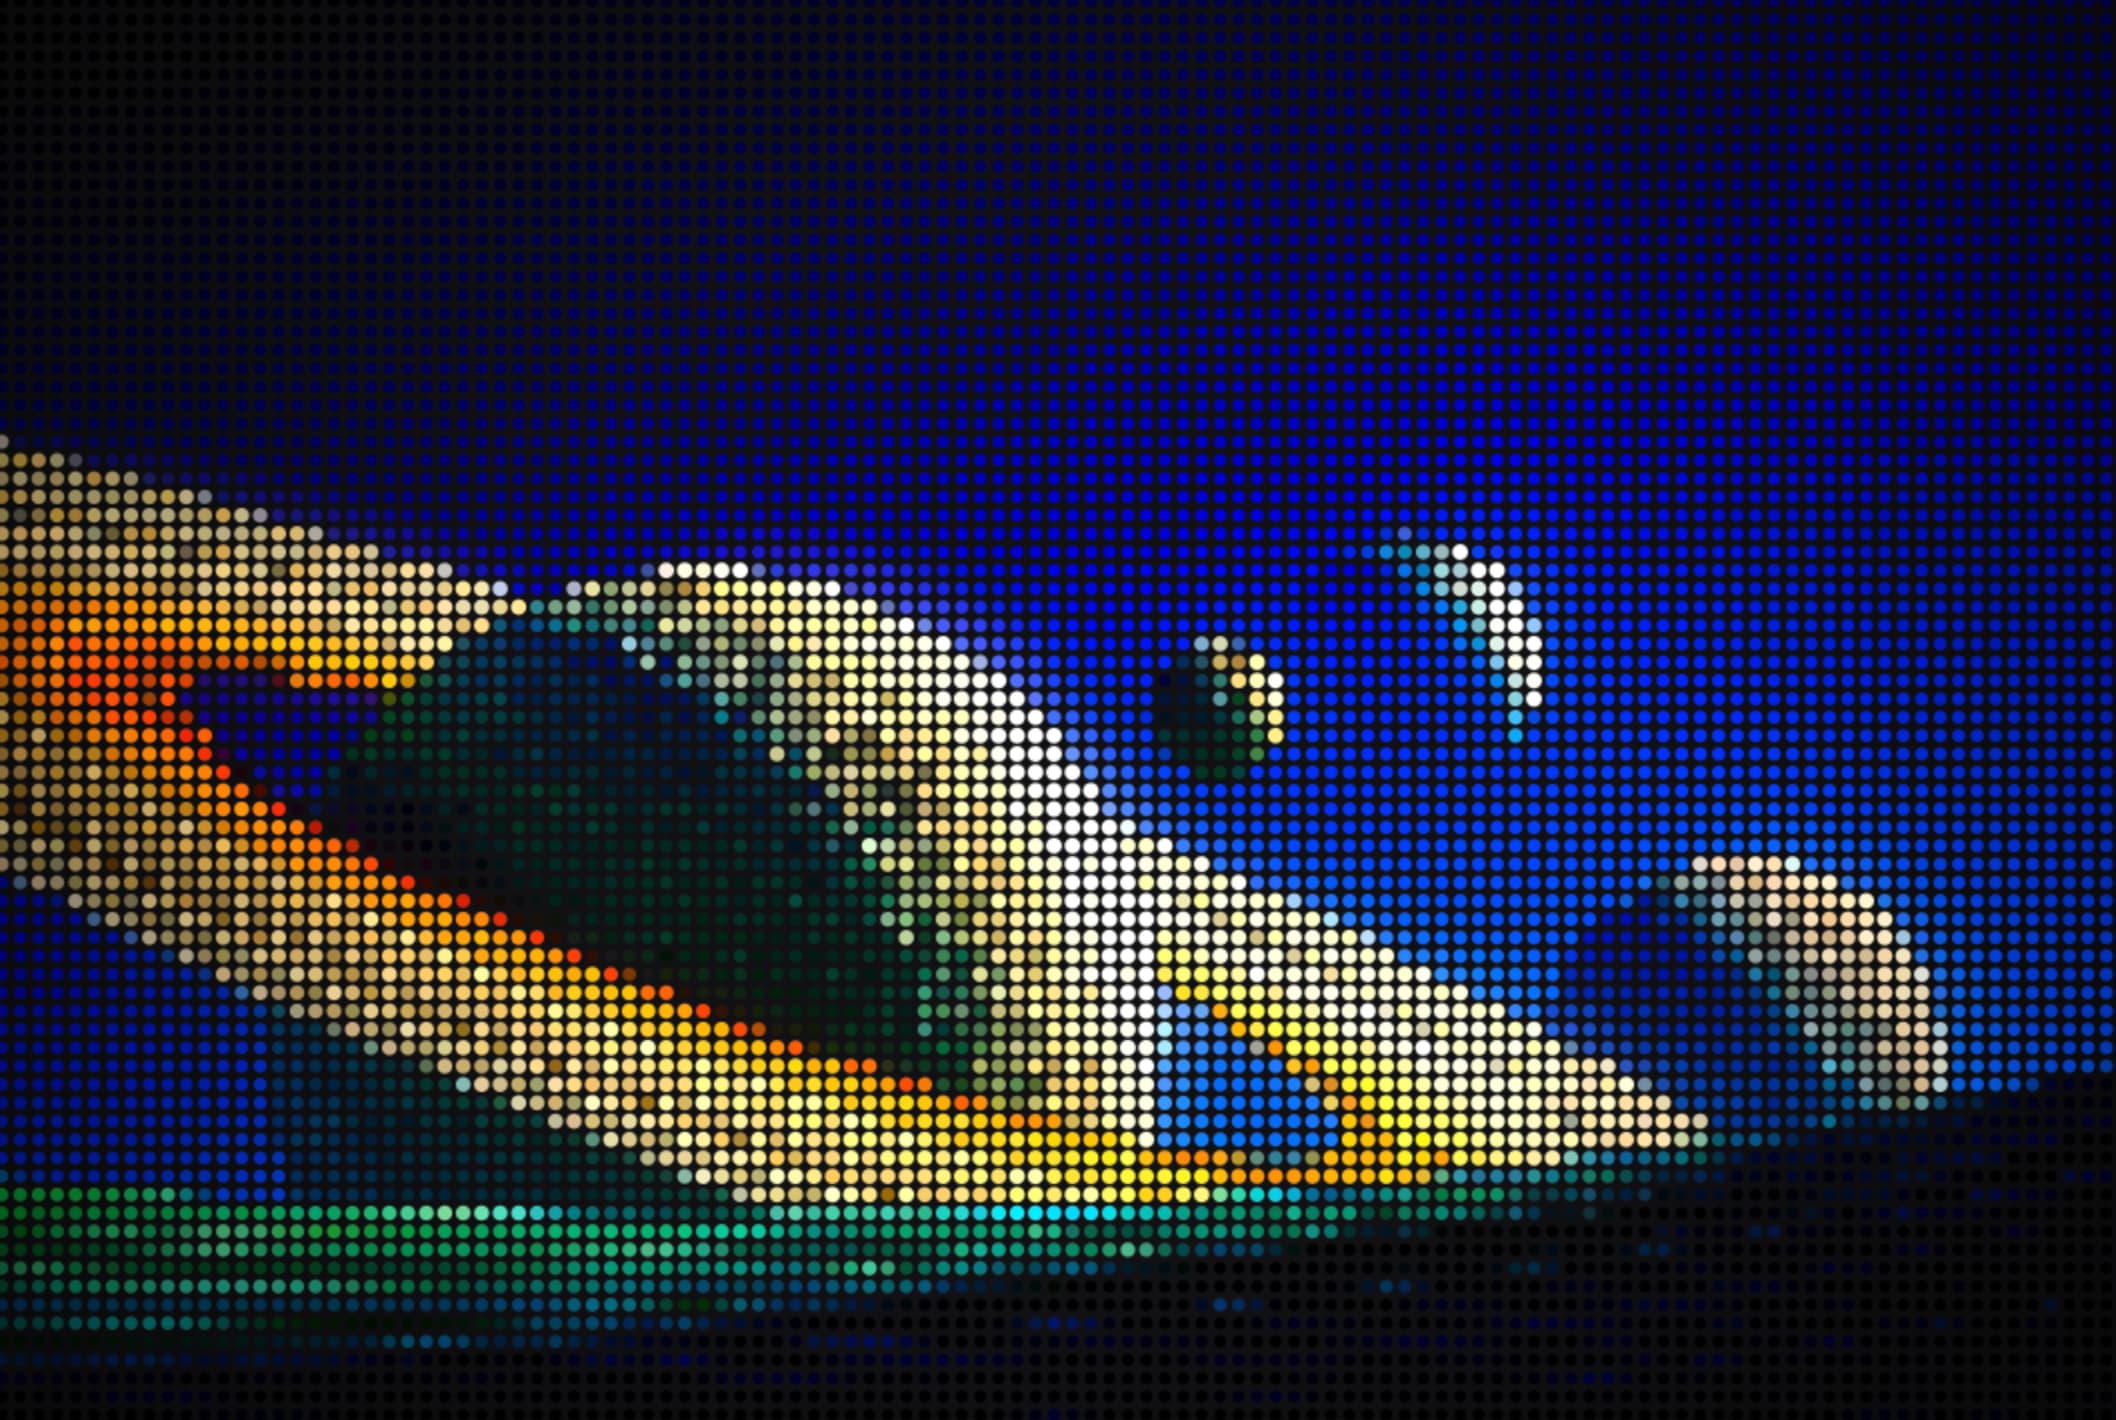
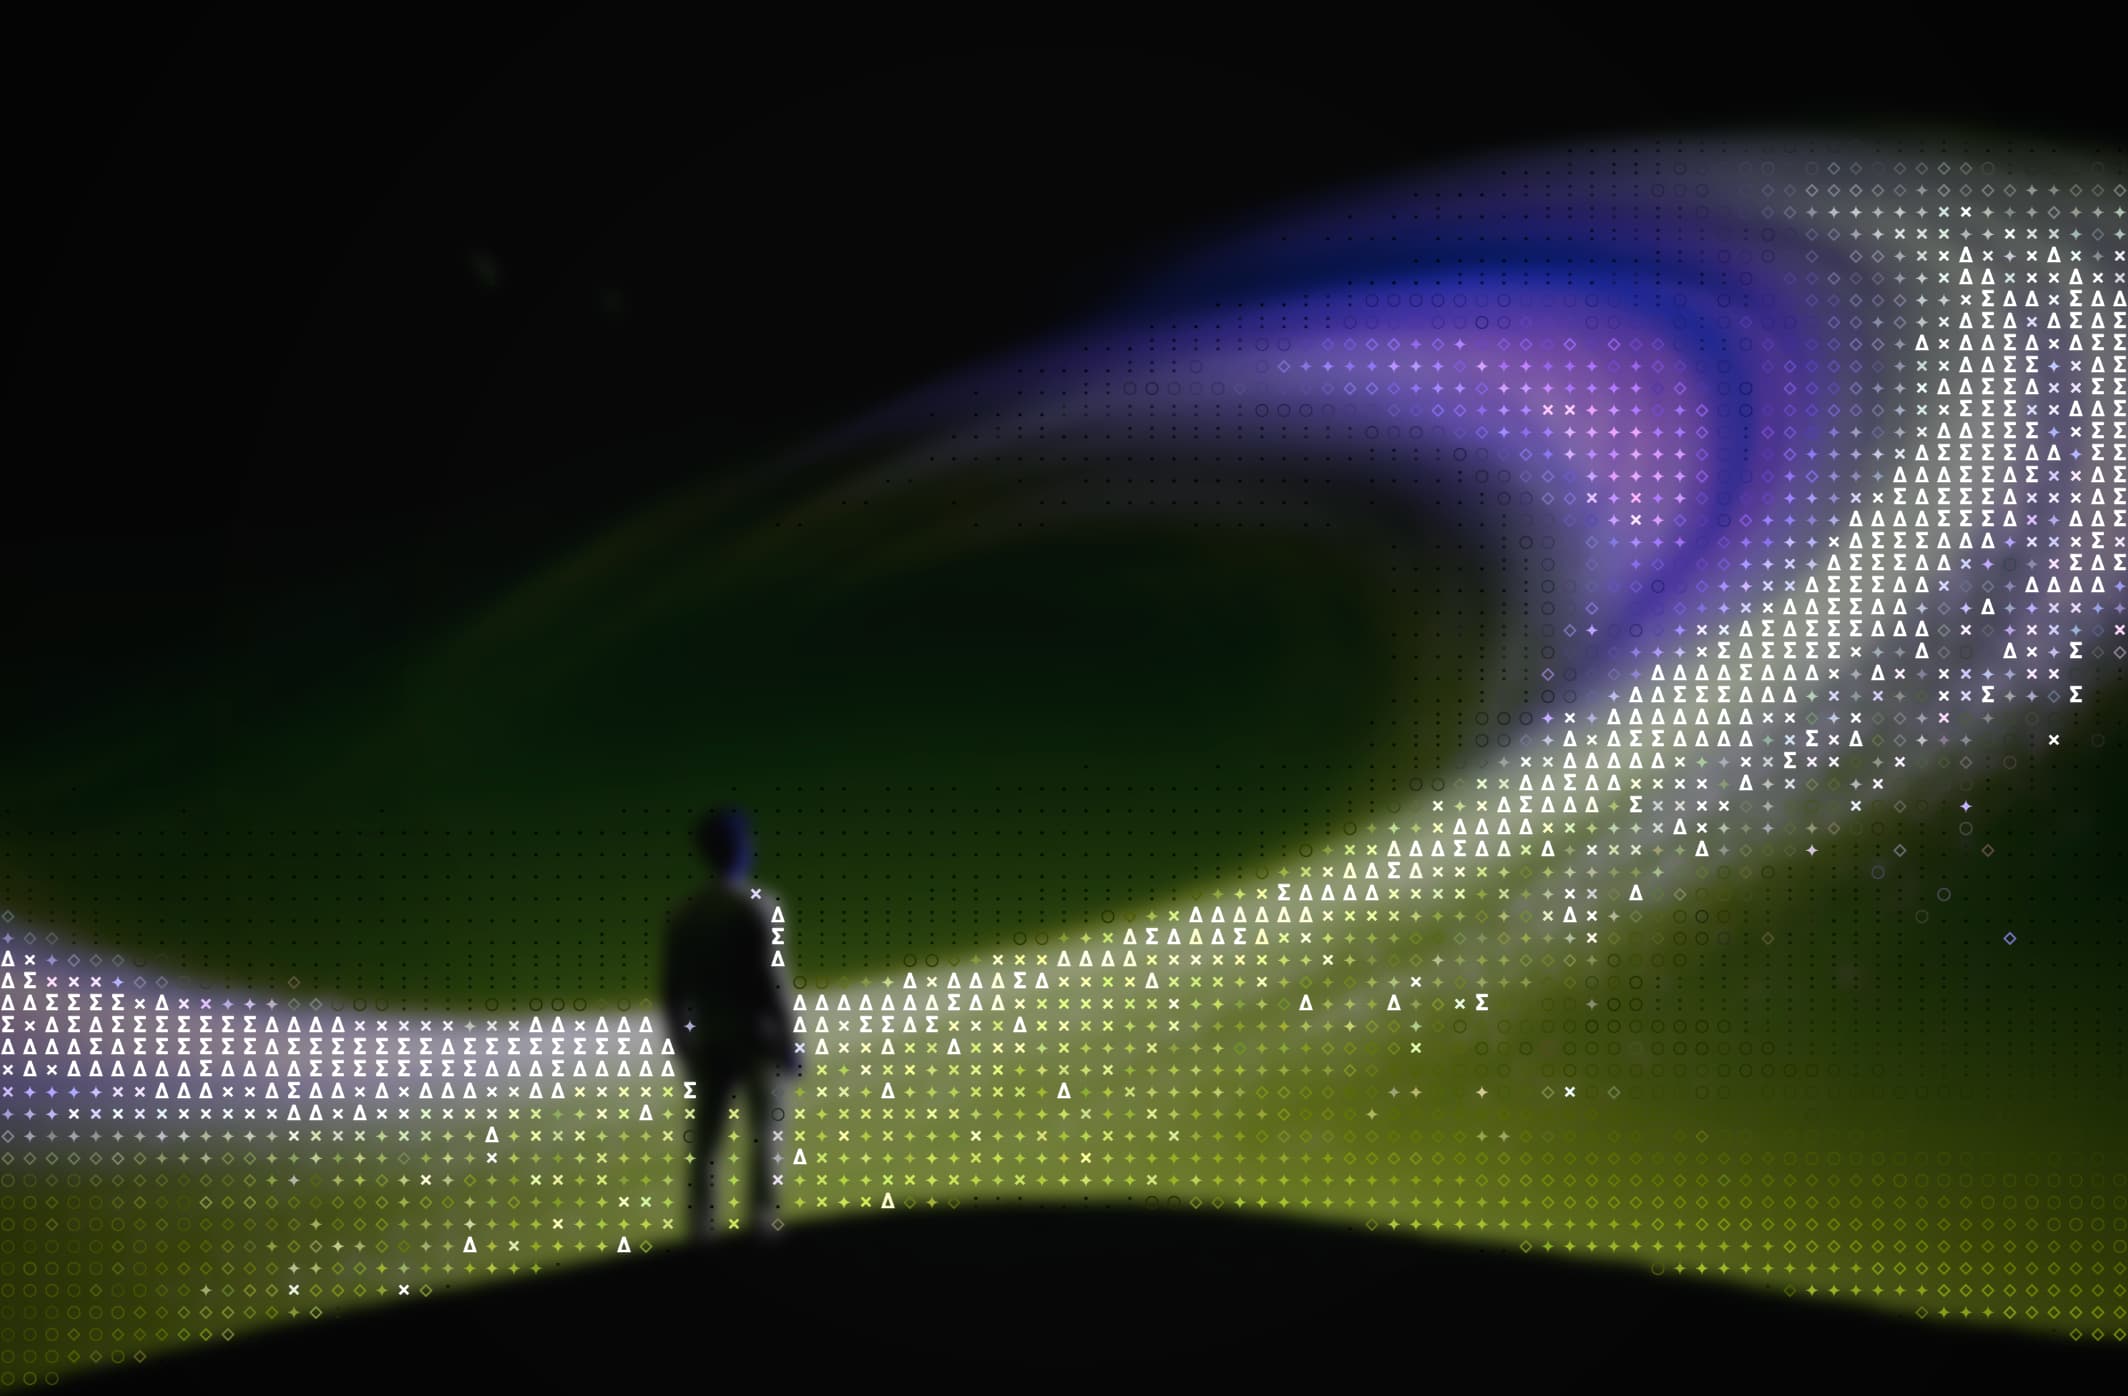
Halftone applied with a red background — the dot pattern reads clearly at any zoom level.
How to create a halftone effect in Ditther
Open the app
Go to app.ditther.com — no account or install needed.
Upload your image or pick a background
Click Backgrounds in the nav or drag and drop your own image. JPG, PNG, and WebP all work.
Select Halftone from Pixel Effects
In the right panel under Pixel Effects, click Halftone. The effect applies instantly.
Adjust Size and Density
Use the Size slider to control dot diameter. Density controls how tightly dots pack together.
Try Shuffle for instant variations
Hit Shuffle to randomise your filters, background, and effect settings in one click.
Export
Click Export in the top nav. Pro users export at 4K with no watermark.
Tips for better halftone results
Use high-contrast images
Halftone works best with images that have clear light and dark areas. Boost contrast with the Contrast slider before applying the effect.
Pair with a bold background
The halftone effect reads most strongly against a solid or geometric background. Try the Flora or Space background packs — the contrast between organic imagery and the dot grid feels intentional.
Use Opacity to blend
The Opacity slider lets you blend the halftone overlay with the original image. At 60–80% you get a subtler result that works well for social media.
Pro tip
For a screen-print aesthetic, set Size to 18–22, Density to 8, and Style to Outlined. Drop Opacity to 75%. It reads like a two-colour risograph print.
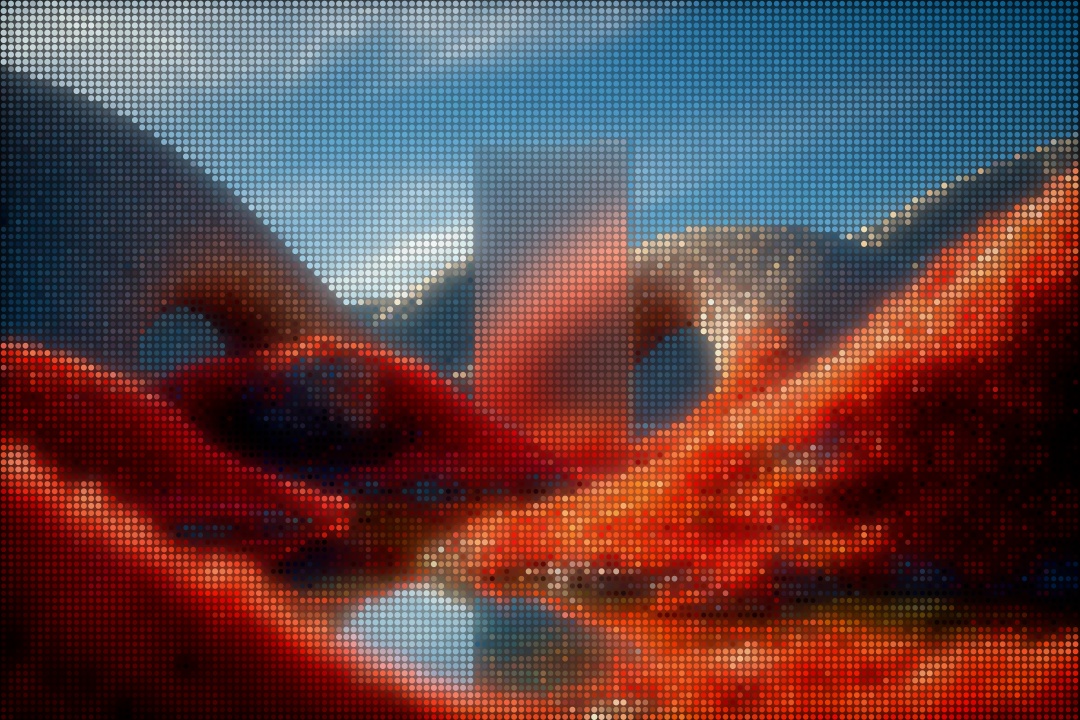
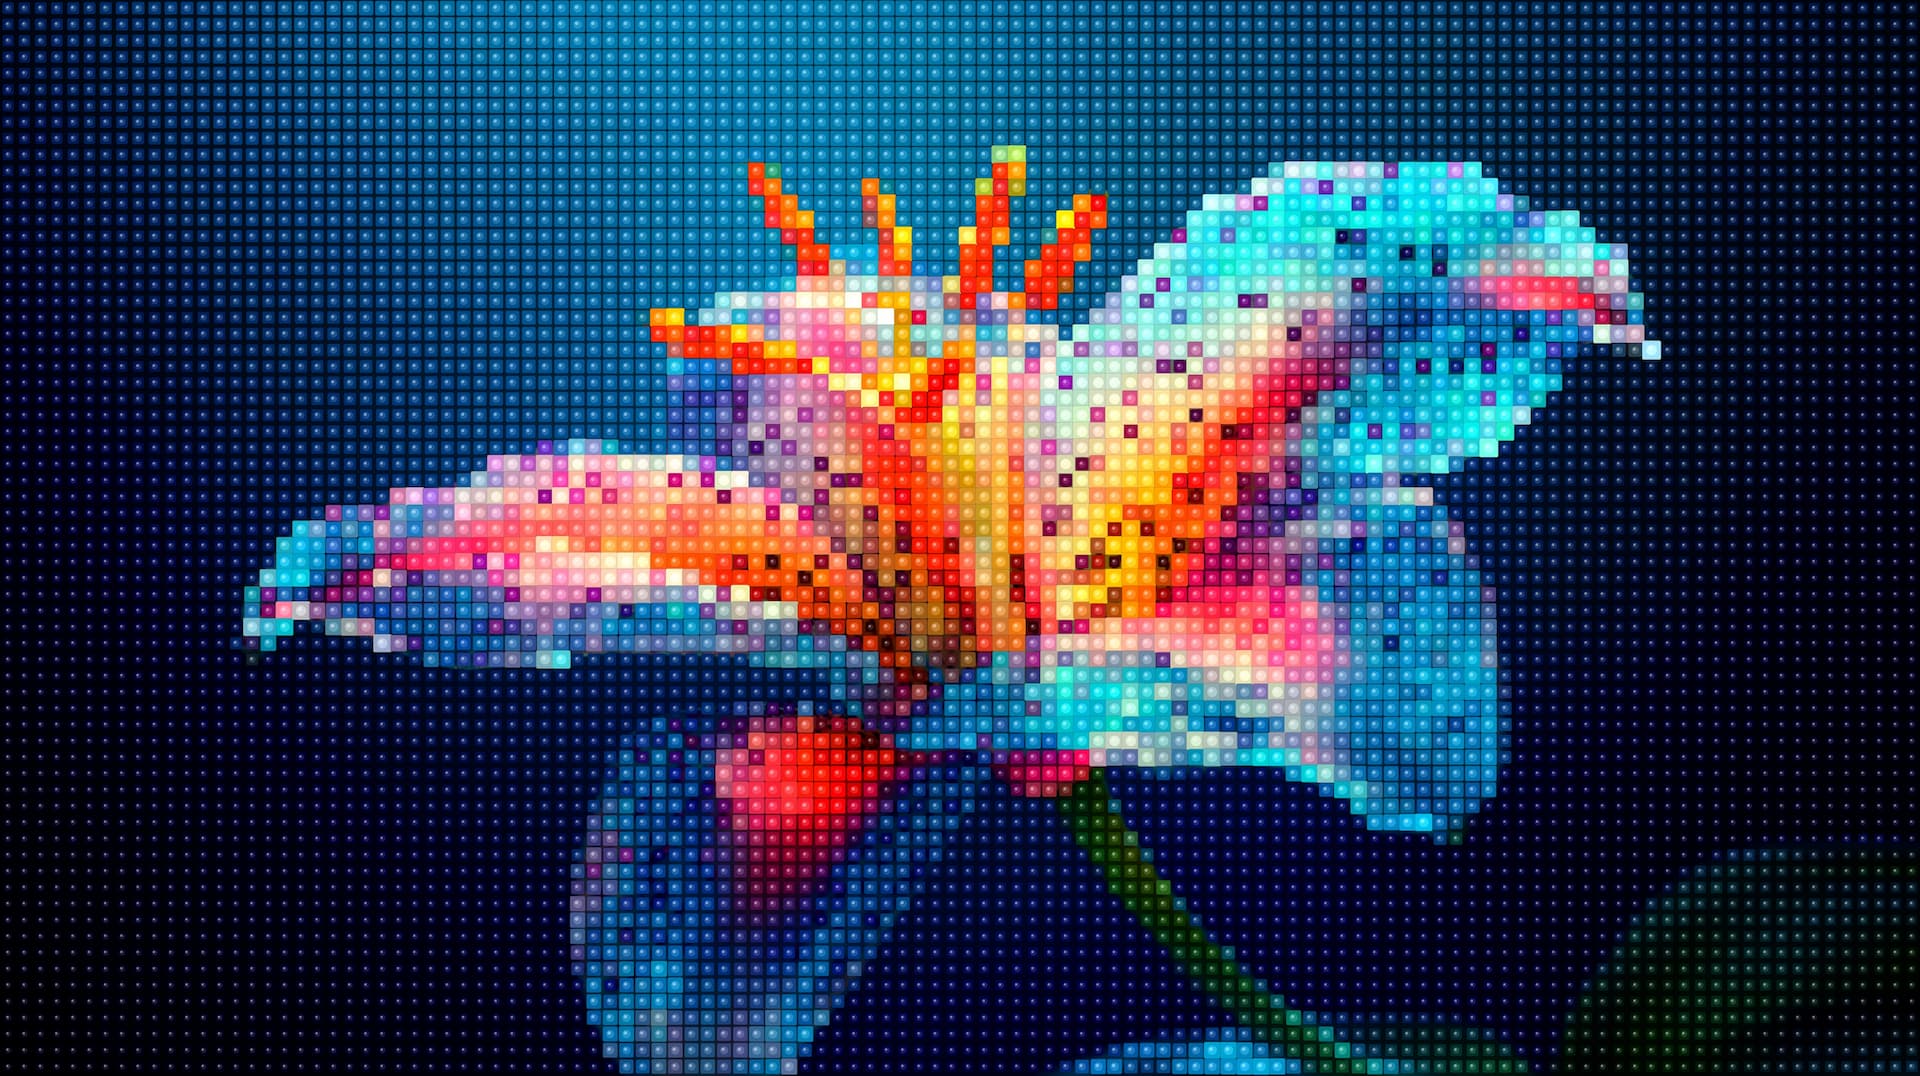
Dots variant of the halftone effect — circular grid maps the image's colour values into spheres.
Halftone vs Dots — what's the difference?
Halftone uses varying dot sizes to simulate tonal range — exactly like print halftone. Dots uses a uniform grid of circles at fixed sizes, giving a more graphic, less photographic result. Both are worth trying on the same image to see which fits your look.
Common questions
Does halftone work on photos with faces?
Yes — portraits are particularly effective. Use a smaller Size setting (8–12) so facial features remain recognisable through the effect.
What's the best image size to upload?
Ditther handles any size. Pro users export up to 4K (2048px on the longest side). A larger source image gives you more detail to work with.